Last updated November 21, 2026
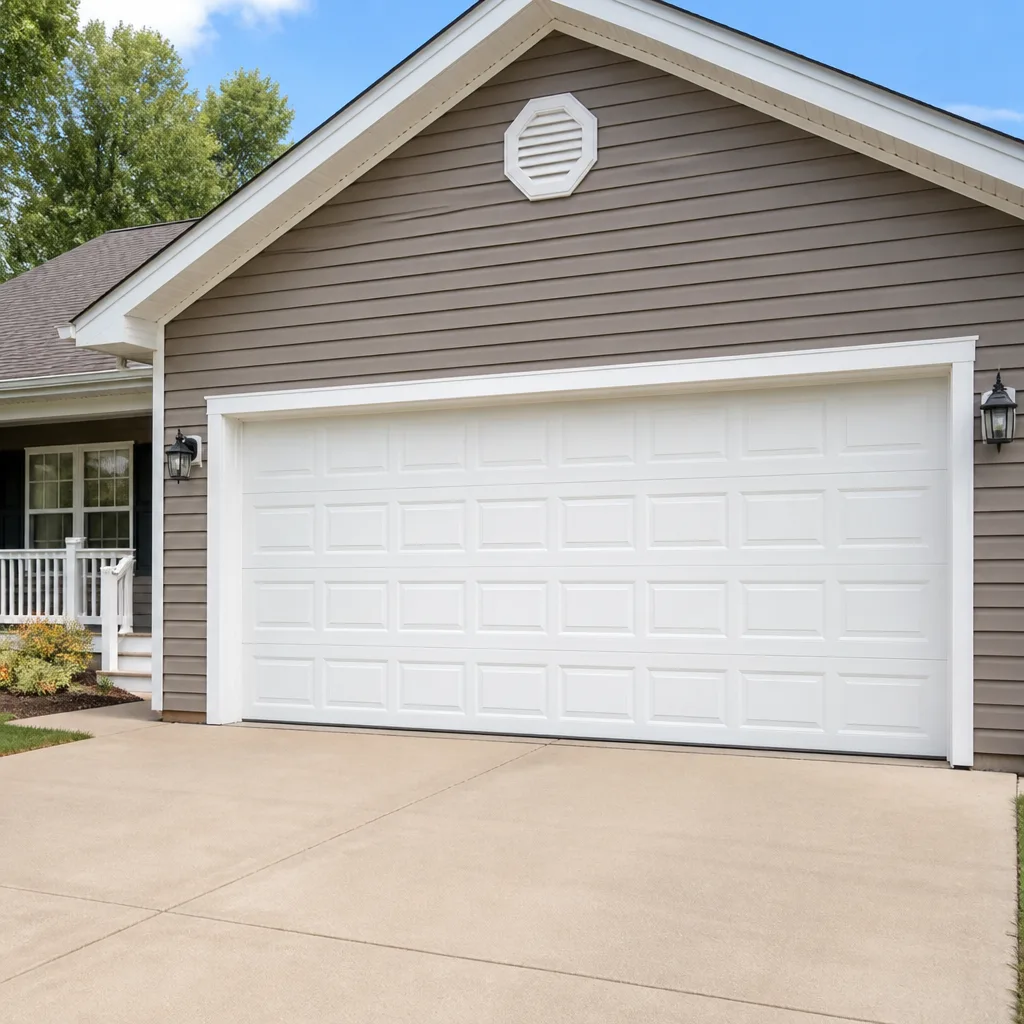 Raised-panel steel
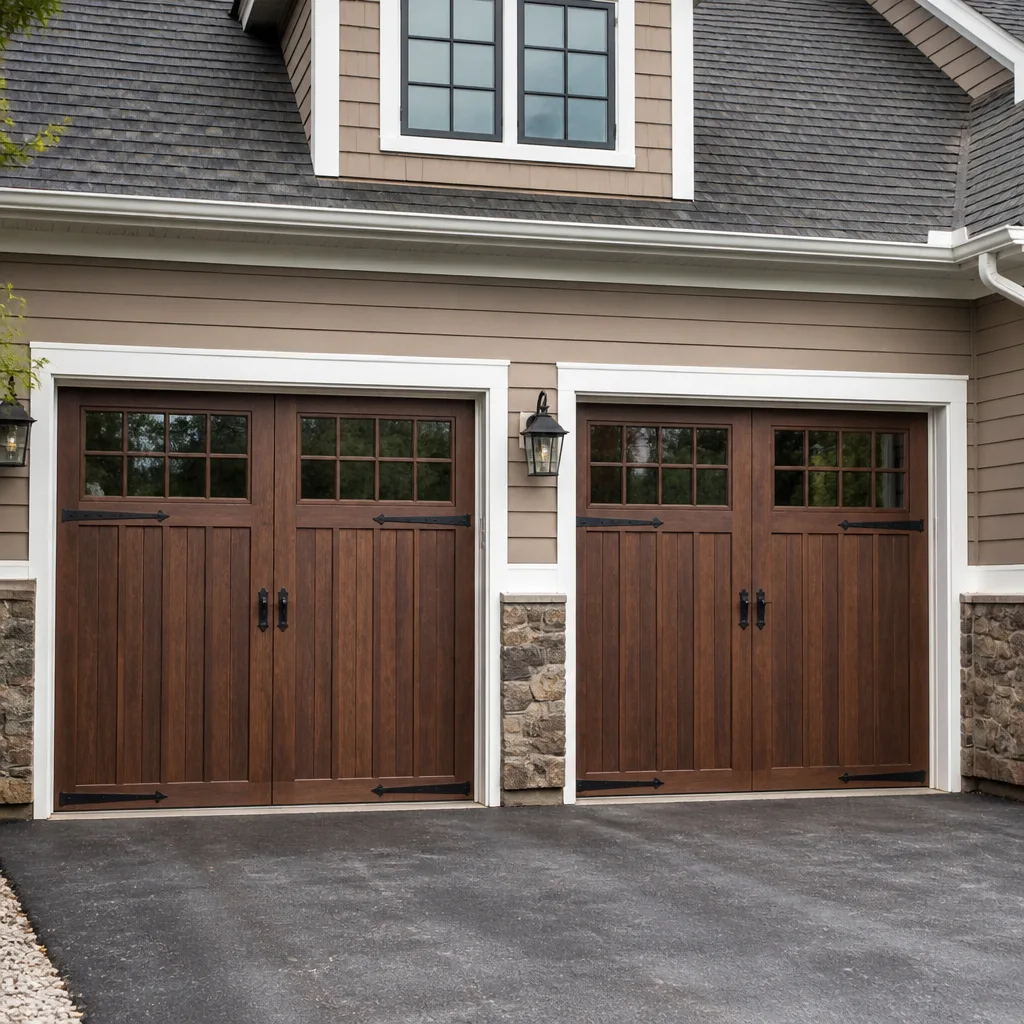 Carriage house
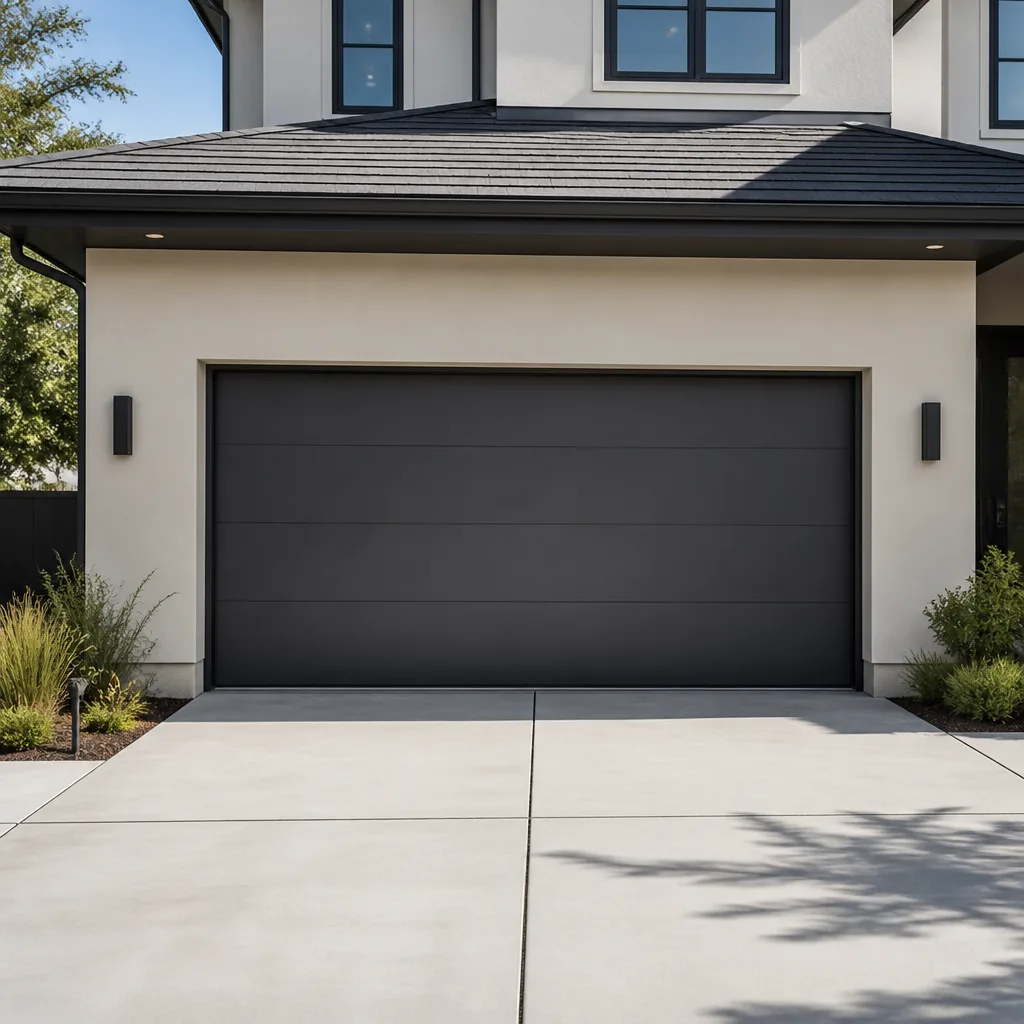 Modern flush
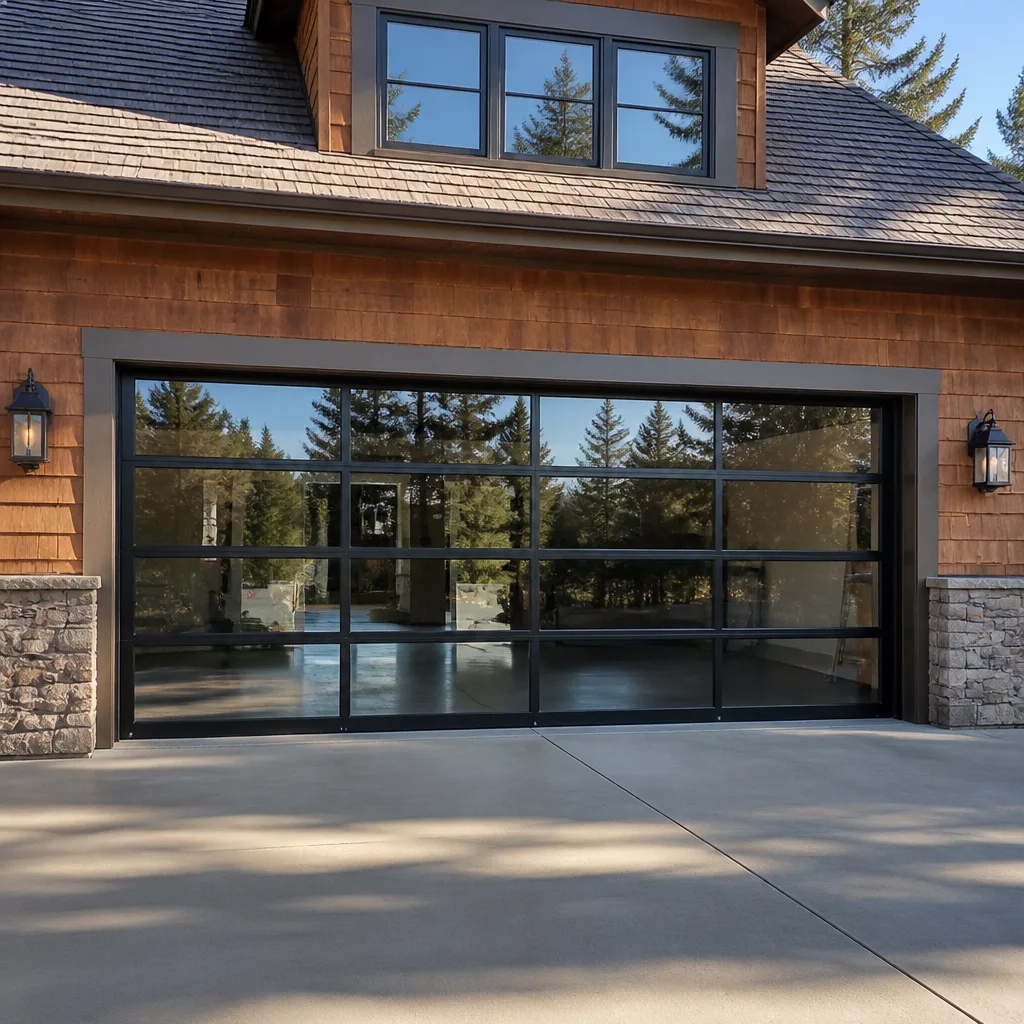 Full-view glass
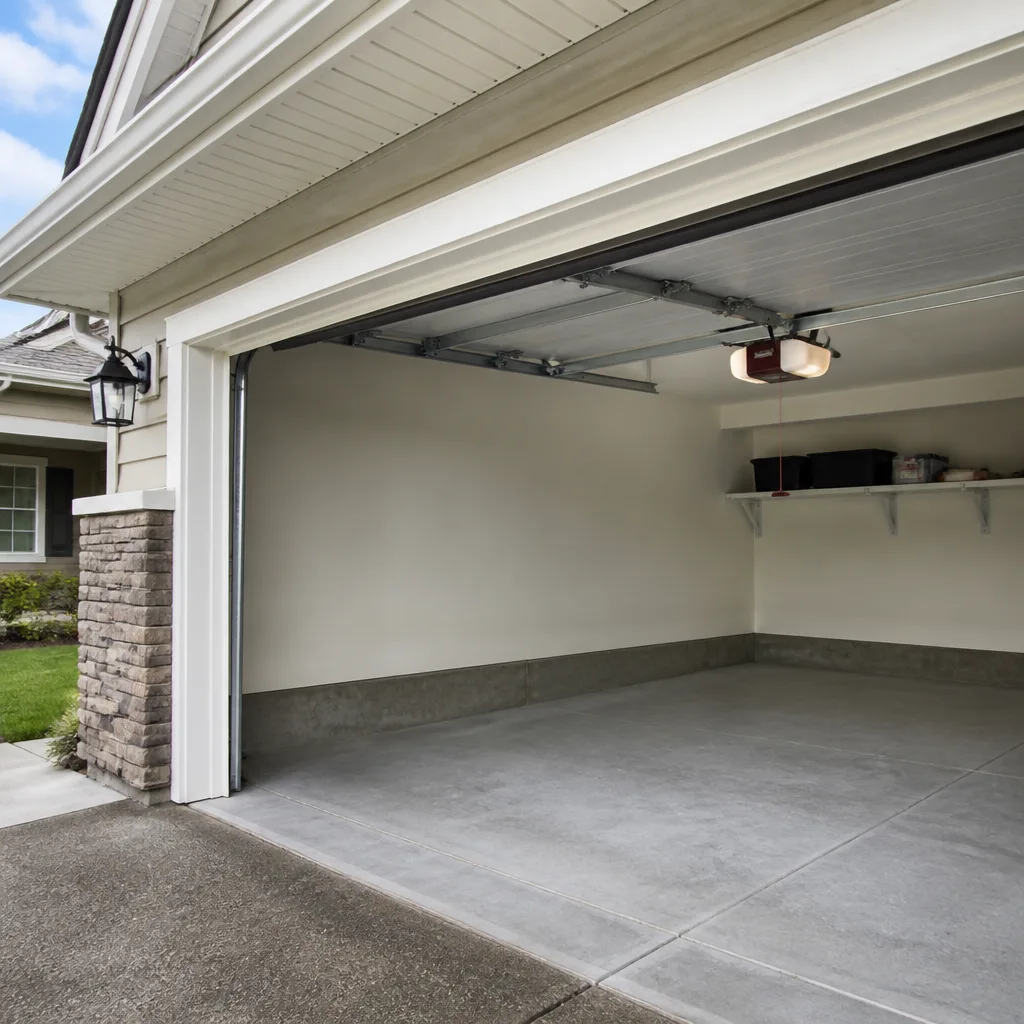 LiftMaster openers
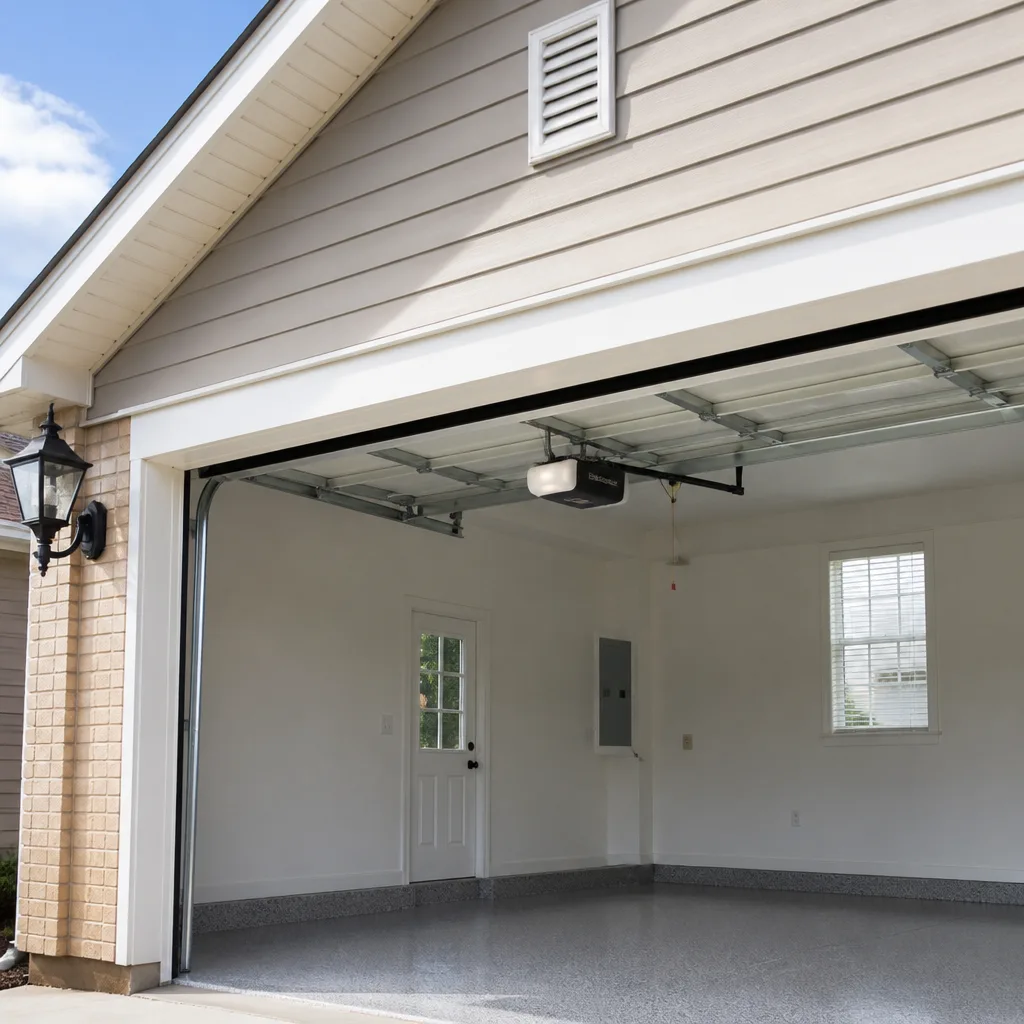 Chamberlain openers
Full 25-point door and opener safety check with every visit - springs, cables, rollers, tracks, and your LiftMaster or Chamberlain opener included
You get a price before we start. It does not change when the pro arrives.
Get your free estimateGarage Door Repair Maintenance Checklist for Capitol Hill Homeowners
Most homeowners think the spring is what breaks. In our experience, the spring is usually what finishes breaking – the failure starts somewhere quieter, weeks or months earlier. In Capitol Hill, that quiet place is very often the bottom seal on an alley-facing garage. Water wicks under a worn seal, pools on the slab, and works at the cable drum anchor plate from underneath until the metal gives up. Skipping a $40 seal is the most common reason a $200 spring repair turns into a much larger job. This guide walks through what to check, part by part, what to lubricate with what, and how DC’s freeze-thaw cycle treats the components most homeowners never look at until they fail.
Quick Answer
A working maintenance routine for a Capitol Hill garage door covers five things: a visual inspection of cables, springs, and hinges; lubrication of the right parts with the right product; a balance test to catch spring tension loss before it strains your opener; a bottom seal check before the first freeze; and a track and hardware tightening after DC’s humid season. Most of these tasks take under 30 minutes each and don’t require tools beyond a screwdriver and a rag. Anything involving the torsion spring, cables under tension, or a door that’s out of balance is a professional job – those components store enough force to cause serious injury.
Styles & brands we work with
- Raised-panel steel
- Carriage house
- Modern flush
- Full-view glass
- LiftMaster openers
- Chamberlain openers
Table of Contents
- Part-by-Part Inspection Protocol
- Reading Cable Wear: What’s Dangerous and What’s Cosmetic
- Lubrication Spec by Component
- The No-Tools Balance Test (and What It Saves Your Opener)
- Capitol Hill Seasonal Calendar: Freeze-Thaw and Humidity
- Warranty Traps and How to Document Your Maintenance
- Common Mistakes to Avoid
- When to Call a Professional
Part-by-Part Inspection Protocol
A garage door has roughly a dozen wear points you can inspect in ten minutes with a flashlight. You don’t need to understand how they work to check them – you need to know what normal looks like and what a problem looks like. Here’s the difference, part by part.
Hinges and rollers. Hinges should sit flush and tight. Look for wear at the pivot point – a hinge that wobbles on its pin is on its way out. Steel rollers in a Capitol Hill garage typically develop flat spots from sitting under load; nylon rollers crack at the edge rather than flattening.
Cables. Cables run from the bottom bracket up the side of the door to the drum. Look for frayed ends at the drum (small, even if they look harmless) and check for slack. A cable with slack is a cable that has lost its tension setting, and a slack cable is one step from the door dropping off-level.
Springs. Look at both the torsion spring above the door (horizontal, on a shaft) and any extension springs (running along the tracks). Torsion springs don’t usually show obvious wear – they fail suddenly. Extension springs should have safety cables threaded through them; if yours don’t, that’s a call-worthy gap and a genuine safety issue.
Bottom seal and threshold. Run your hand along the rubber seal at the bottom of the door. It should feel flexible, not chalky or cracking. With the door closed, look for daylight under it. If you can see light, water can get in, and on a Capitol Hill alley garage that means ice at the threshold come January.
Panels and hardware. Push on each panel from the inside and look for flex or separation at the seams. Check that the bolts on the bottom bracket and top bracket are snug (don’t over-tighten; you’ll strip the panel metal).
Reading Cable Wear: What’s Dangerous and What’s Cosmetic
This is where homeowners most often get it wrong in both directions – either panicking over surface rust or ignoring a strand that’s already snapped. Cable is galvanized steel aircraft-style wire, and it can handle some surface oxidation. What it can’t handle is broken strands, kinks, or wear at the drum wrap.
Here’s how to tell the difference:
- Surface rust is cosmetic. A uniform, thin orange-brown coating on the outside of the cable, with no broken strands, is normal in DC’s humid months. Wipe it with a rag and move on.
- Broken strands are dangerous. Look for a “fuzzy” appearance anywhere along the cable, most often within a few inches of the drum or bottom bracket. Even one broken strand on a cable carrying a door’s weight is a reason to stop using the door and call us.
- Kinks are dangerous. A bend that stays bent signals internal damage to the wire structure even if no strands are visibly broken.
- Wear at the drum wrap is dangerous. If the cable has started to cross over itself or cut into the drum instead of seating smoothly, that’s a system problem, not a cable problem, and it needs to be assessed by a technician.
- Slack anywhere is dangerous. A cable that sags when the door is down means tension has been lost – usually a sign the spring is also out of setting.
Cables are under the same tension as the springs and can cause serious injury if they snap while you’re working near them. Never try to unwind, re-wrap, or adjust a cable yourself. Visual inspection only. That’s the line we won’t cross with a homeowner, and we don’t think any honest garage door company should.
Lubrication Spec by Component
Here’s a rule that surprises most Capitol Hill homeowners: white lithium grease is the wrong product for most of your door, and on nylon rollers it actually destroys them. Lithium grease is a solvent carrier that can degrade nylon over time, and it also attracts dust in a way that turns the inside of your tracks into a grinding paste. Here’s what to use, and where.
- Steel rollers: a light coat of white lithium spray is correct here – the metal pins and bearings take it well. Apply at the pin, not on the roller face that contacts the track.
- Nylon rollers: do not use lithium grease. Use a silicone spray, and just a light mist at the bearing. Nylon runners are self-lubricating by design; over-lubrication traps grit that does more damage than good.
- Hinges: silicone spray or a light machine oil at the pivot pins. Two drops per hinge is enough.
- Torsion spring coils: a light coat of spray silicone along the coils is the standard practice – it reduces friction between adjacent coils and quiets the door as it travels.
- Tracks: do not lubricate the track surfaces. Clean them with a damp rag. Grease on a track surface attracts dust and grime and turns into a grinding paste that wears your rollers prematurely.
- Opener rail and chain (if chain-driven): a light chain-specific lubricant, not grease.
A quick rule that covers almost every situation: grease for metal-on-metal that slides, silicone spray for anything near nylon or plastic, and no product at all on the track surface itself. Two spray cans (one silicone, one white lithium) will cover a full year of maintenance. Frequency matters too – a general lubrication pass twice a year, once before the cold snap and once after DC’s humid season, keeps everything moving without over-applying.
Get this wrong and the most common symptom is a noisy door. Get it wrong on nylon rollers and you’ll be replacing them within a couple of years. If you’re not sure which rollers you have, look for a code stamped on the end of the roller shaft – nylon rollers are typically white or grey with a molded bearing; steel rollers are all-metal and magnet-friendly.
If you’d rather skip the DIY trial-and-error, our garage door repair service includes a full lubrication and inspection visit done to spec for your specific hardware.
The No-Tools Balance Test (and What It Saves Your Opener)
Here’s a test you can do in 60 seconds without any tools, and it’s the single best predictor of whether your opener is living under strain. Pull the emergency release cord (the red handle hanging from the opener rail) so the door disconnects from the opener, then manually lift the door to about waist height and let it go.
What you want to see:
- A door that stays put at the halfway point is balanced. If it hangs there and doesn’t drift, the spring tension is doing its job.
- A door that slides down on its own is under-tensioned. That means the spring has lost some of its lift. Every time the opener closes the door after this point, it’s doing work the spring should be doing.
- A door that tries to climb on its own is over-tensioned. Usually a sign a spring was sized or set incorrectly, or a component is binding. Equally hard on the opener.
- A door that’s stiff or sticking at one spot is telling you about a track out of alignment, a bent hinge, or a worn roller – not a spring problem.
If your door is under-tensioned or over-tensioned, don’t try to fix it yourself. Torsion springs are the highest-tension component in the whole garage system, and adjusting them requires specific tools (torsion bars, winding bars) and a very clear understanding of how the tension is stored. We never recommend a homeowner adjust them. What we do recommend: leave the door disconnected from the opener, call garage door repair in Capitol Hill, and have a technician set the tension properly within a day or two.
The reason this matters so much is what an out-of-balance door does to your opener’s control board. An opener that has to lift or lower dead weight draws more current than it’s designed to. Over months of that, the logic board and motor windings take a beating – and the symptom presents as “the opener just died” when the real culprit was a door that’s been out of balance since spring. A balance test takes 60 seconds. Replacing an opener logic board is far more expensive and slower.
Capitol Hill Seasonal Calendar: Freeze-Thaw and Humidity
DC’s weather swings do specific damage to a garage door over a year, and both ends of the calendar have their own priorities. Here’s what to check when.
Before the first freeze. The bottom seal check is the priority. If water has been wicking under the door all fall, the first hard freeze turns that moisture into ice that damages the bottom panel and puts extra load on the whole door every time it opens. Replace a worn bottom seal before the freeze, not after. Also check the threshold for cracks – a widening crack at the alley-side threshold lets more water in. Tighten any hardware that has worked loose and apply a fresh coat of silicone on the torsion spring coils.
After the spring thaw, in the shoulder season. Once the freeze-thaw cycle finishes, check the tracks for alignment (frost heave in a slab can shift one track slightly against the other), re-tighten all bolts, and check the balance again. A door that was balanced in October is often slightly off by April simply from the season’s temperature swings tightening and loosening the cables.
After DC’s humid season. Track alignment and hardware looseness are the priorities. Wood-framed garage openings in Capitol Hill row houses can swell and shrink with humidity, and the door’s track attached to that framing moves with it. Two quick checks: with the door partway up, is there an even gap between door edge and track on both sides? And does the door travel smoothly without a shudder at any point? If not, the track likely needs realignment.
Year-round: the balance test, the visual cable inspection, and a general lubrication pass twice a year. If you want a single line to write on your calendar, do one pass in late fall and one in late spring.
If your door is a Clopay, Amarr, Wayne Dalton, or Craftsman unit, we can build the maintenance pass around the specific roller, hinge, and spring setup those brands use – it saves time and it means we’re checking the right parts, not going through a generic routine.
Warranty Traps and How to Document Your Maintenance
Most garage door manufacturers require that a door be maintained and installed to their published specifications for the warranty to remain valid. What they don’t typically tell you is that some of the shortcuts homeowners take during DIY maintenance can void coverage on specific components. Here’s what to watch for.
- Wrong lubricant on nylon rollers is one of the most common warranty issues we see. If a roller fails early and the manufacturer inspects it and finds lithium grease on a nylon runner, they can deny the claim. Use silicone, or don’t lubricate the runner at all.
- Over-tightening bolts on a panel or bottom bracket can strip the panel metal. Damaged panels are rarely covered under a manufacturer warranty because the damage is diagnosed as installation/user error, not a defect.
- Adjusting springs or cables yourself. Almost every manufacturer warranty excludes springs and cables that have been adjusted outside of a licensed garage door technician’s work. This is true for a reason – the safety risk is real – but it’s worth knowing before you attempt it.
- Painting or refinishing the door incorrectly. On steel doors, the wrong paint or prep can void the finish warranty. Follow the manufacturer’s paint guidance for your specific door model – Clopay in particular publishes detailed do’s and don’ts for their steel doors.
Documentation is the homeowner’s best defense. Keep a simple maintenance log: the date, what was checked or lubricated, what product you used, and any issues noticed. Take a photo of the bottom seal, the springs, and the rollers once a year. If a component does fail early, that log is what lets a manufacturer see that the door was properly maintained – and it’s what lets a technician know what’s already been done. A one-page spreadsheet or even a note on the wall of the garage is enough. The point isn’t to be perfect, it’s to have a record.
If you’d like a professional baseline before starting a self-maintenance routine, our garage door repair visit includes an inspection that you can use as the starting point for your own log.
Common Mistakes to Avoid
- Thinking surface rust on the cable means the cable needs replacing. A thin orange-brown coating is cosmetic. A broken strand or a kink is not. Knowing which is which saves you a needless repair bill.
- Using white lithium grease on nylon rollers. This is the most common lubrication mistake we correct in Capitol Hill. Lithium degrades nylon and attracts grit. Use silicone spray, or nothing.
- Lubricating the track itself. A greased track is a dirt trap. Clean it with a rag instead, and keep the lubrication on rollers and hinges where it belongs.
- Skipping the bottom seal check every fall. This is the small task most directly tied to a premature spring failure in Capitol Hill alley garages. Water in, spring out.
- Trying to adjust spring tension. Every spring is under enough force to cause serious injury. A trained technician is the only person who should set or adjust it.
- Using the opener to force an out-of-balance door through a cycle. This is how a $150 spring-related service turns into a $400+ opener logic board job. If the door is out of balance, disconnect it from the opener and get it looked at.
- Never checking the safety reverse. With the door lowering, place a 2×4 flat on the ground under the door (or a roll of paper towels). On contact, the door should reverse. If it doesn’t, the safety sensors or the opener’s force setting need attention. This is a safety item – get it looked at, don’t ignore it.
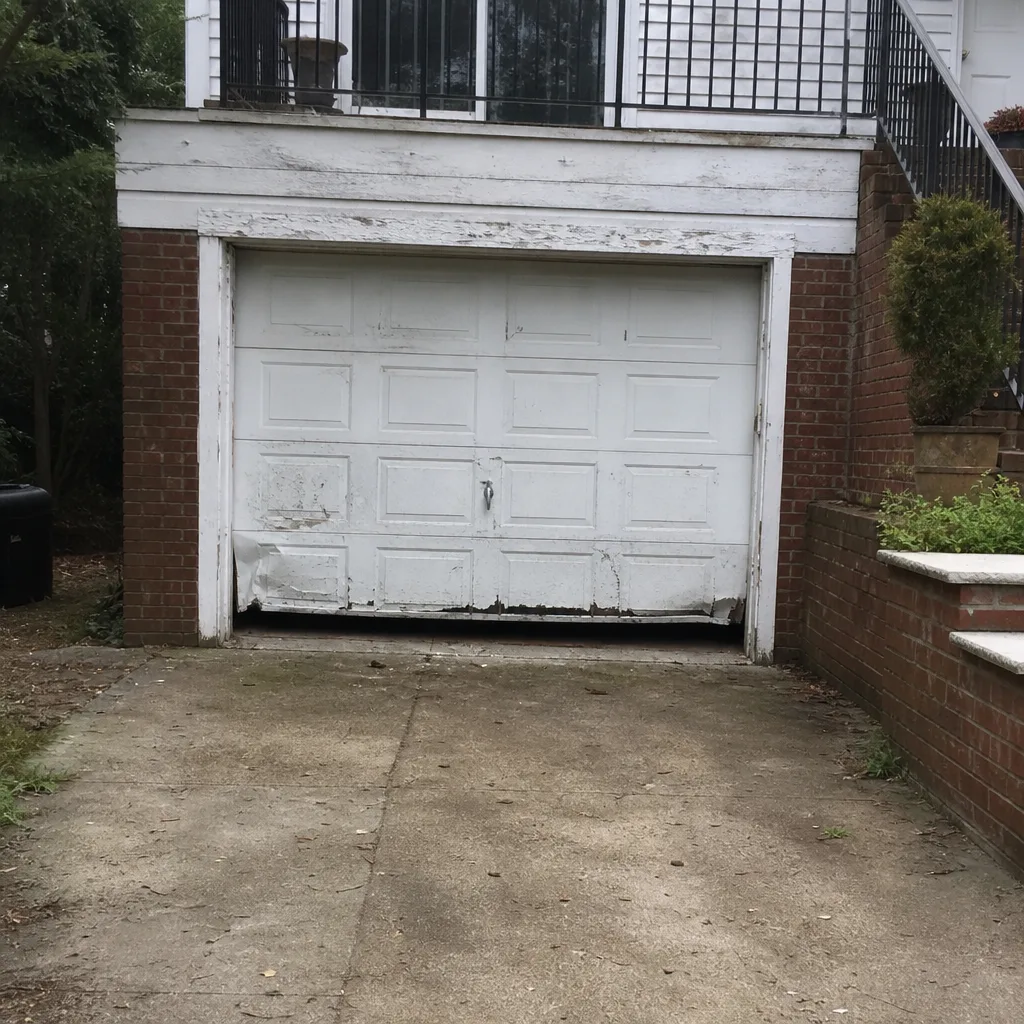
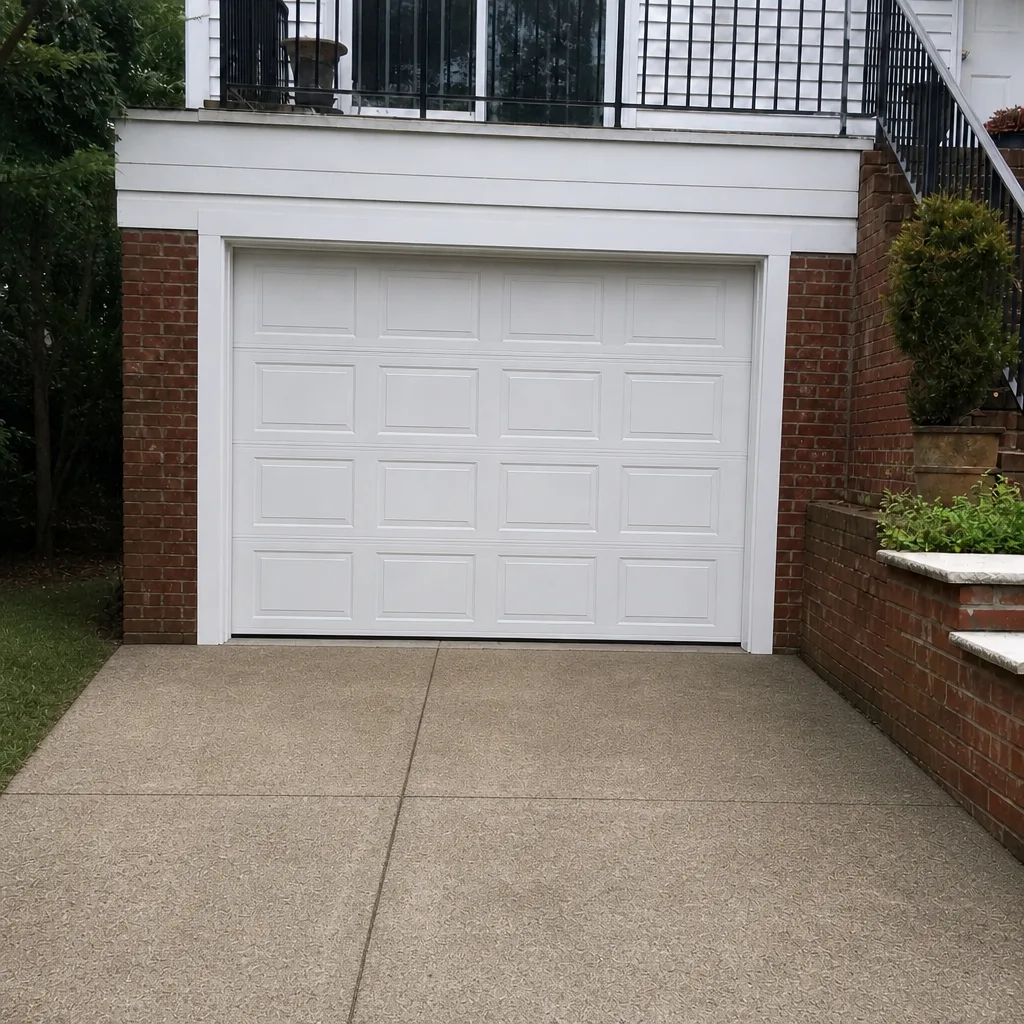
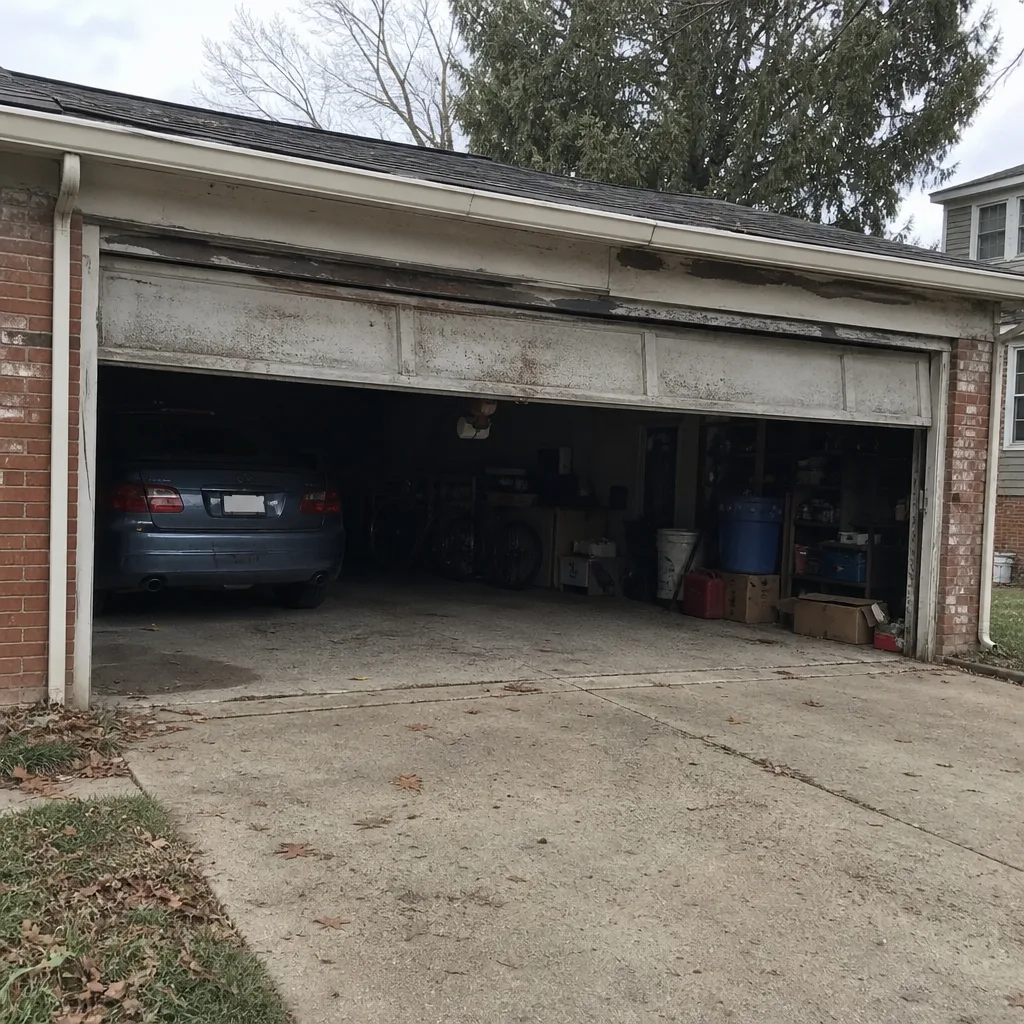
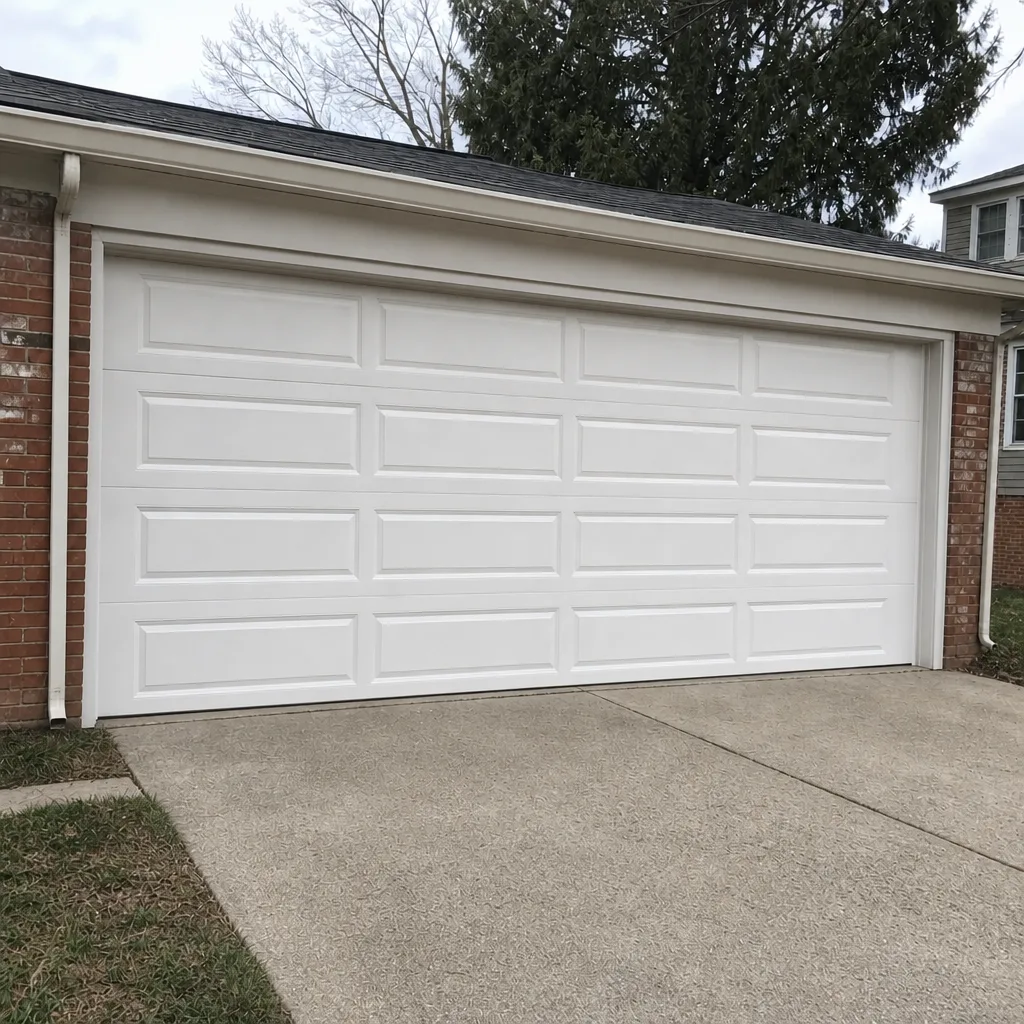
See the difference
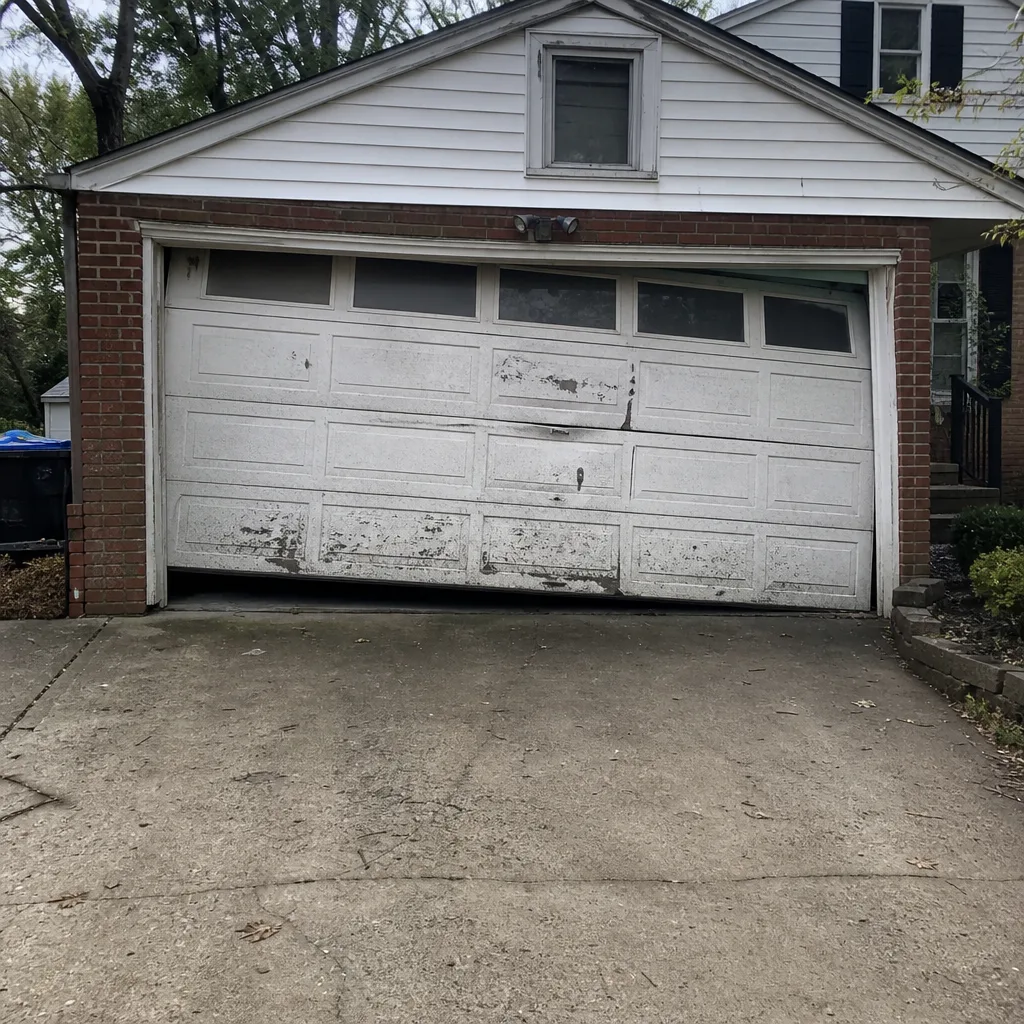 Before
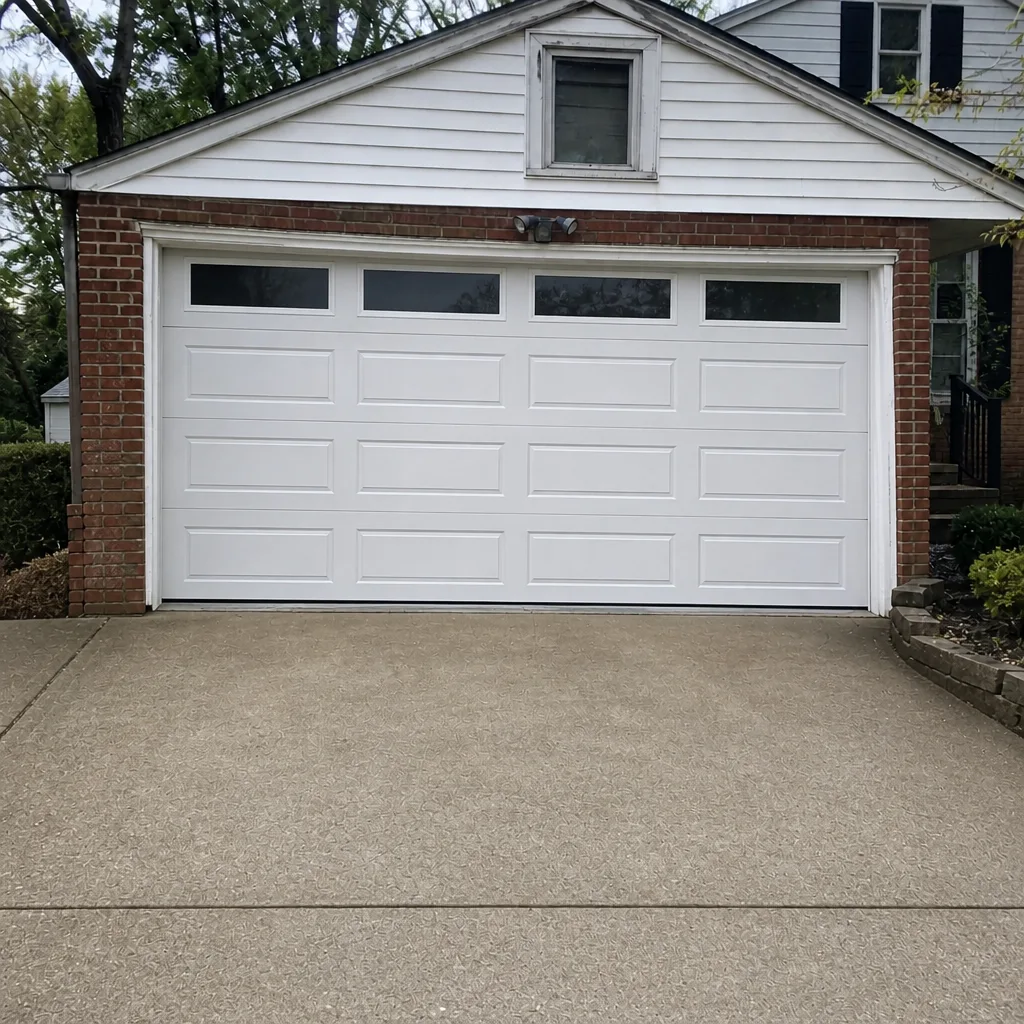 After
 Before
 After
 Before
 After
When to Call a Professional
Some maintenance is homeowner work. Some is technician work – not because it’s difficult, but because the components store enough energy to be genuinely dangerous. Call us for: any broken strand or kink on a cable; a door that won’t balance after the no-tools test; a spring that has visibly broken or that you suspect has lost tension; any time the door is off-track or won’t travel evenly; an opener that reverses or won’t complete a cycle despite a balanced door; and any situation where the door is jammed or off its tracks and you can’t safely secure the garage. We also recommend a professional inspection after any unusual sound (a bang, a snap, a sudden thud) or a door that has dropped on its own.
Garage Door Repair Capitol Hill offers free estimates in Capitol Hill – call (855) 604-5978 to schedule. Our technicians have up to 8 years of experience across every major brand, from Clopay and Amarr to Wayne Dalton and Craftsman, and spring repair is a named specialty for us, not an add-on. If your openers need a look, we cover those too through our garage door opener repair work.
Frequently Asked Questions
A maintenance pass twice a year is the standard: once in late fall before the first freeze, and once after DC’s humid season. Each pass is under 30 minutes for the homeowner-checkable items, and it covers lubrication, seal inspection, balance test, and a hardware tighten. Any spring or cable work should only be done by a technician.
No – replace it when it’s worn, chalky, or letting daylight or water under the door, not on a fixed yearly schedule. But in Capitol Hill, we check it every fall regardless, because the driver is water intrusion into an alley garage. On a sheltered, well-drained garage, a seal can last years. On an alley garage with a slab threshold, it usually needs replacing more often than a homeowner expects – and this is the $40 part most directly tied to spring life.
Silicone spray on nylon rollers, hinges, and torsion spring coils. White lithium spray on steel rollers only. Never grease on the track itself – use a damp rag. A silicone can and a lithium can will cover a full year of maintenance. If you’re not sure which rollers you have, check the ends of the roller shafts – nylon is usually white or grey; steel is all-metal.
No, and this is the one line we won’t soften. Torsion springs store enough force to cause serious injury or worse, and adjusting them requires specific tools and a clear understanding of the tension storage. It’s also a common warranty-void trigger with every major door manufacturer. Call a technician – our spring repair is a core service, and we carry the tools and the training to do it safely.
Run the no-tools balance test first. If the door stays put at the halfway point and moves freely, the door is balanced and the problem is likely the opener – force settings, sensors, or the logic board. If the door falls on its own or sticks, the door is the problem in most cases, and every opener cycle is adding strain. That’s a good time to schedule a visit; we work on LiftMaster, Chamberlain, Genie, and Craftsman openers regularly and can diagnose by brand-specific behavior rather than guessing.
The main ones are wrong lubricant on nylon rollers, over-tightened bolts that damage a panel, spring or cable adjustments done outside of a licensed technician, and incorrect paint prep on steel doors. Keep a simple maintenance log with dates, products used, and photos of the door’s key components once a year. If a component fails early, that log is what shows the door was properly maintained.
The Bottom Line
Garage door maintenance is really two things: the small homeowner checks that prevent big failures, and the professional services that keep the dangerous components safe. The parts you can do – a 60-second balance test, a fall and spring seal check, a silicone-only lubrication pass, a post-humidity track inspection – catch most of the failures we see in Capitol Hill before they become expensive. The parts you shouldn’t – spring tension, cable work, anything involving an off-track door – are where a trained technician belongs. If a door is due for a professional inspection, or if a new door is on your horizon, our garage door installation team can talk through what your garage is set up for. Call (855) 604-5978 for a free estimate – estimates are free and the price is quoted in writing before any work begins.
Written by the team at Garage Door Repair Capitol Hill.